
"InstaGator"
This is to document a fiberglass High Power Rocket build. I bought this kit from Madcow Rocketry who bought out Rocketry Warehouse. This is the 3" Reaper. Just over 6' tall. All fiberglass construction. I will document each step as well as weigh each component and enter the data into Open Rocket.

A quick bath to remove release agent.

I washed all of the parts in a bath of Dawn dishwashing liquid followed by a clean rinse.


I sanded the Avbay lids with 400g sandpaper. I then cleaned with solvent. After it evaporated I used two part epoxy to secure and then added the recovery hardware. I used the coupler to ensure alignment of step lids.

With the Avbay and nose cone bulkheads complete, I moved on to the nose cone and coupler. I sanded the inside of the nose cone and half of the coupler with 400g sandpaper. I then cleaned with solvent. After the solvent evaporated I applied generous amounts of two part epoxy to both parts. I twisted and turned the parts until they did not move anymore.

Did I mention that I was weighing each component? I weighed each piece initially and then again after I add hardware and/or epoxy. I then transpose the data to Open Rocket for flight simulation.

Next, I added an eye bolt to the top centering ring for Kevlar shock cord retention. I slightly modified the nuts and washers to fit inside the airframe.

For centering ring adhesion to the motor mount I cut a thin piece of cardboard and tacked it down leaving a 1/4 space. 8 then filled the space with two part epoxy. I also did the same thing for the other side.

Generous amounts of two part epoxy was applied to the forward section of the nose cone coupler bulkhead. The nose cone was rotated slowly allowing the epoxy to cover both surfaces.


Avbay holes drilled and hardware installed.
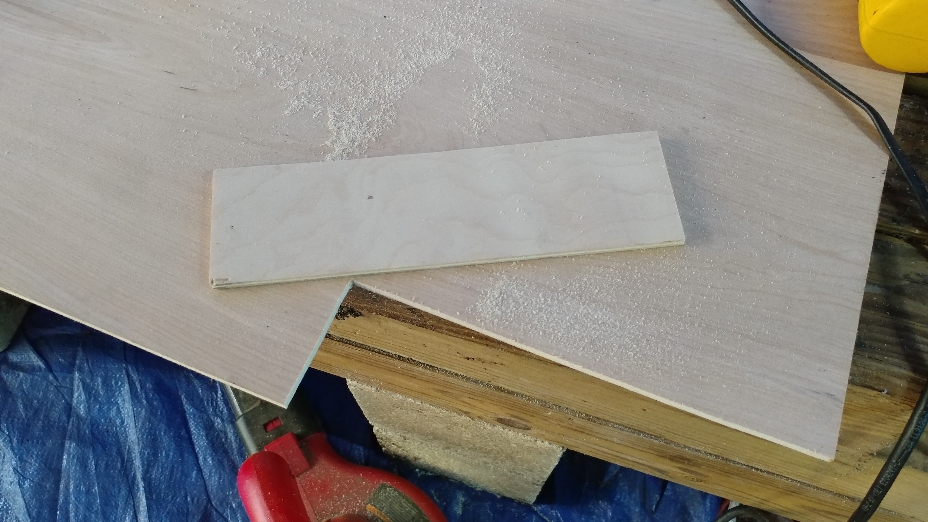
Avbay sled has some beautiful grains in it. Tempted to apply a gloss stain.